
Day 6.
Frilly
knickers are adorable. If you're making the FRILLY FRILLY BLOOMER or
the LOW RIDER (as shown below) you're going to need to know how, so if
you want to add frills to your rear, keep reading.


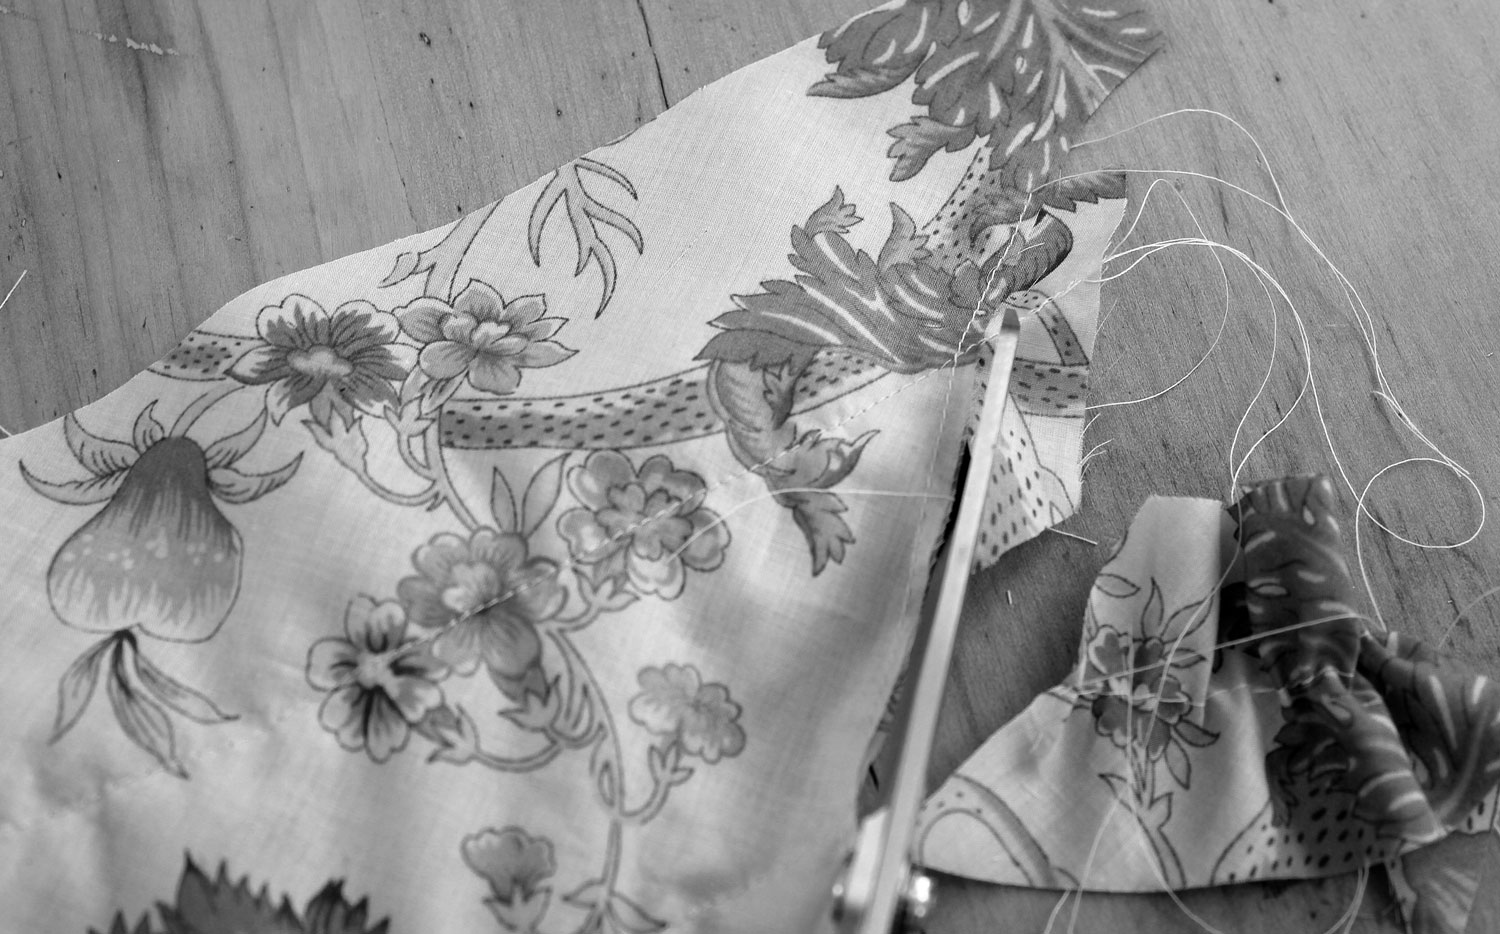
1. The frills in the above example work really well because of the lightness of the fabric. It's a silk cotton voile and the frills are made by cutting long bias cut strips. A HOW TO make bias binding can be found right here. For this knicker the strips are 5cm wide. Cutting them on the bias means the edges won't fray, instead taking on a beautiful blurred effect over time.


You'll need 2 continuous (no joins) strips twice the width of the knicker (plus a bit extra), the amount of gathering really depends on your personal preference.
2. Press a line down the middle of each one.

3. Make a line of gathering down the middle, normally I allow the machine to gather up the fabric.

4. The frills are added before the leg elastic, the first sits evenly 3.5cm from the top edge and the second so that the raw edges are together.


Pin in place and secure with a single line of stitching down the middle. Once complete carefully remove the gathering thread.

5. On the wrong side make a line of stitching close to the leg opening edge to secure the frill in place. Once complete cut away the excess fabric. This stitching will hold the frill down as you attach the knicker elastic.

Now you're ready to attach the knicker elastic. You'll see how my new LOW RIDER turned out tomorrow.

No comments:
Post a Comment