
Knickers are super easy to make but maybe not the first time. The first time, I wanted to scream blue murder and do some very unkind things to my sewing machine. For anyone who's just a little nervous about giving them a go I've put together a knicker making sew-a-long to help you along the way.
LESSON 1. Selecting your fabric
All of my lingerie patterns have been developed for woven fabrics. Why? It's simple, fabric choice, you have so many fabric options to select from. Use light weight fabrics and if possible go for cotton or cotton blends, they breath! Liberty's Tana Lawn which comes in a huge array of prints is a perfect weight, I've used it many times. Cotton or silk cotton voile is slightly lighter with a sheer finish and also works well. Light cottons with a crinkle or seersucker texture are my absolute favourite, if you can find a cute printed voile with a crinkle finish grab it!


Big prints or little prints? Instinctively I always select small scale designs because knickers are small and they just look cuter. If you go with a larger print design you need to be very careful about placement, expect to use more fabric and think about where the print is going to be positioned when it's finished and on the body.

LESSON 2. Cutting your fabric
The most IMPORTANT thing you need to know is that all woven knickers MUST be cut on the bias. This adds stretch which is vital if you actually want to wear them. The bias runs at a 45 degree angle from the selvedge. Pull your fabric in line with the selvedge and then along the bias and you'll see what I mean immediately.
The most IMPORTANT thing you need to know is that all woven knickers MUST be cut on the bias. This adds stretch which is vital if you actually want to wear them. The bias runs at a 45 degree angle from the selvedge. Pull your fabric in line with the selvedge and then along the bias and you'll see what I mean immediately.

When you work with light weight fabrics it's also a good idea to transfer your pattern pieces to fabric. Light weight fabrics can be fiddly to cut and believe me laying out a pattern in fabric onto a cotton voile and cutting around it is much easier than using a paper one. Calico is perfect, it's inexpensive, you can draw on it and it has enough weight to stop movement.

In the example below I'm cutting a SKIMPY. Use a tape measure to check that each end of the straight grain line marked on your pattern is the same distance from the selvedge.

As you can see cutting my SKIMPY on the bias has given it stretch.

Don't use blunt or thick pins, they can pull a thread or leave a permanent impression in delicate fabrics. Pin inside the seam allowance and use some small weights if you need to.
LESSON 3. Sewing the gusset
For the gusset you'll need some knit fabric, ask for swimsuit lining but in the lightest weight you can find so it doesn't add bulk. It generally comes in natural, white or black and stretches in both directions.

It looks as though the pieces are not going to fit but never fear they will.

With right sides together and matching the balance marks, pin the front and back together at the gusset seam. Start at the center first and then pin the outside edges and finally in between.


Stitch the seam 1cm from edge. Clip where needed but take care not the clip too close to the seam.

Take the gusset and matching balance marks, pin so that the right side of gusset is facing the wrong side of the knicker back. Stitch seam 1cm from the edge.

The seam allowance is now enclosed between the front and the gusset. Press gusset toward the front.


To hold the gusset in place while I'm attaching the elastic I add a row of stitching close to the leg opening edges. You can take this out later.


LESSON 4. Attaching the elastic
Elastic degrades over time especially when exposed to sunlight so be really careful about where you source your elastic from. A brilliant on-line supplier I've found called Bra Makers has a good selection. It shouldn't be too thin, and it should stretch and relax to at least twice its length without any issue.

Measure along the edge of the opening and reduce by 1/3, mark the length onto the elastic leaving a little extra at each end to hang onto.

With the right side of the fabric facing up and the straight edge of the elastic aligned with the edge of the fabric, attach the elastic using a zig-zag stitch stretching the elastic evenly as you go. The fabric should not be stretched, only the elastic.

Flip the elastic to the wrong side. The scalloped edge of the elastic should now be on the outer edge with the fabric folded underneath it. With the right side of the fabric facing up, zig-zag along the edge stretching the fabric evenly as you go.

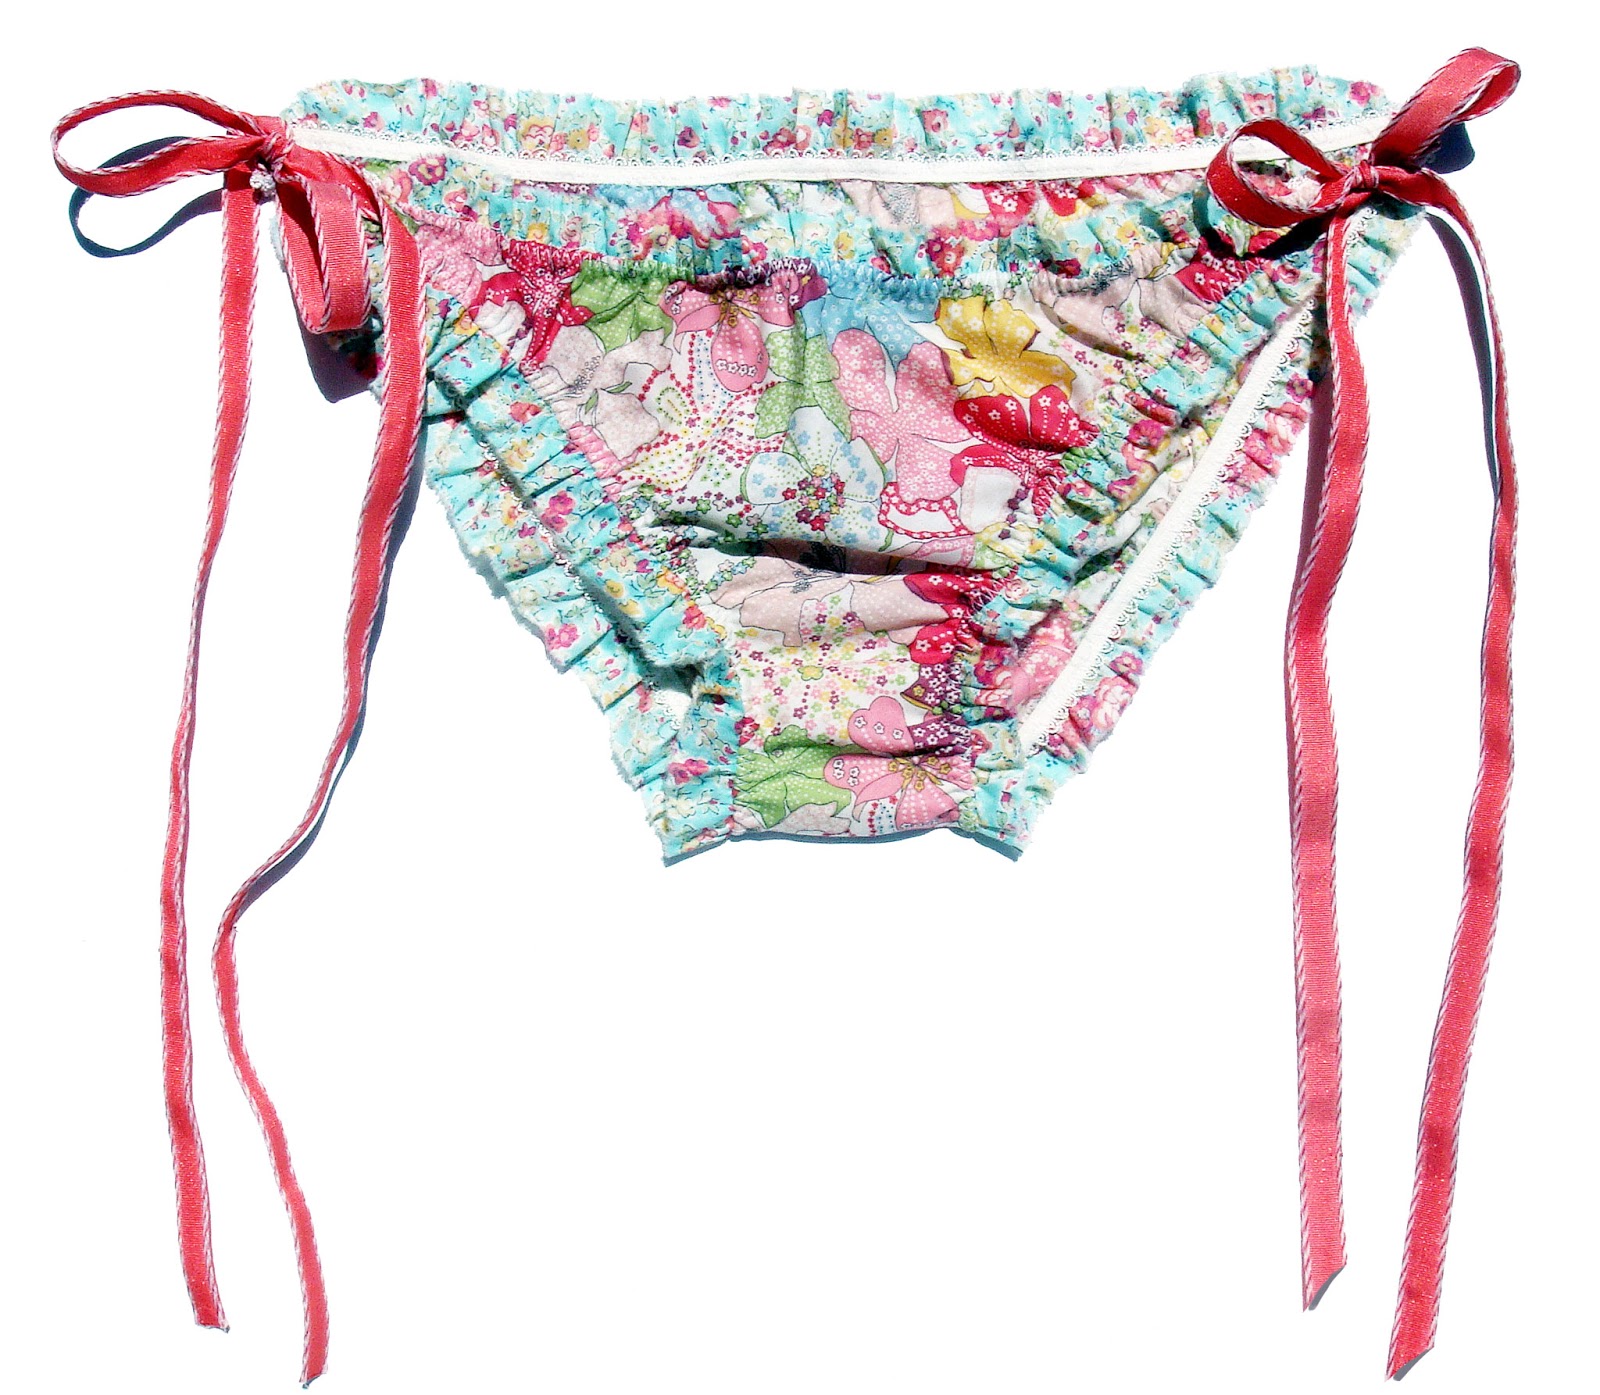
Hopefully you now have something that looks like this.

At this point all of the knicker patterns vary slightly but you should be well on your way to completing your very first pair, the first of many!
No comments:
Post a Comment