Showing posts with label Bags. Show all posts

17.12.17

HOW TO make a shopping bag

Goodbye plastic bags!


Victoria will soon ban single use plastic bags so for your weekly shopping you could make a WEEKEND TOTE BAG...or maybe do this.


1. Take a plastic bag in the size you want, cut across the bottom and the top of both handles.


2. Cut down both sides and flatten out your plastic and then fold in half.


I've transferred the shape directly onto my fabric because I'm lazy but feel free to make a paper pattern.  Add 1cm seam allowance around the handles.  The bag is cut all in one piece with 1cm seam allowance on the outside side seam.


Start with the first 1/2 of one side, mark the pattern to the center fold.  Cut to the fold line of the plastic, stop and then flip the piece over and cut to the other side of the handle less the seam allowance on the side.


Flip the whole thing over and cut the entire shape from the centre fold making sure to include the 1cm seam allowance at the other end.  Use this fabric piece as a pattern to cut the lining.


3. With right sides together stitch the outer fabric together down the side to form a sausage.  Repeat for the lining.


4. With the right side of the outer fabric facing the right side of the lining and with the side seams and handle shapes matching stitch around the handles only.  The top and bottom should be left open.  Clip seams around curves and then turn right side out.  Press.


5. Make the folds in the sides to replicate the handles on the original plastic bag.  Finish across the bottom and the tops of the handles through all layers with bias binding tucking in the ends and hand stitching in place.  Sorry people but I love hand sewing.  All done.


Plastic bags to go the way of the Dodo, now there's an extinction story we can all cheer on to fruition.


My plastic bag replacement combines a green gingham bias binding found at Luccello with a heavy weight printed canvas and a soft silk cotton voile which both came from Tessuti...all left overs from other projects so even better.  I chose printed fabrics that come from opposite sides of the colour wheel.  I love combining clashing colours and when done well they can add a wonderful pop to your piece. 

1.1.17

PAOM Crazy Flower

I clearly remember the night I downloaded some GIF making software for the first time...and then it was morning.  Similarly yesterday I fell down a Print All Over Me rabbit hole and 6 hours in the only thing that stopped me was having to go to work.
 
  A couple of versions of my Crazy Flower abstract are shown below and garments/ objects you can actually buy can be found right here.  I also added a greeting card to my Etsy shop.


Great way to support emerging designers, find unique items and lessen the impact of unwanted stock on our precious world.  Need a print?  I love making them, email me.

12.10.16

new pattern BIG BUNNY

It's as though I took a BUNNY BAG and like a balloon just blew it up a bit.  I've changed a few things, added some quilting, altered the proportions but it's still cute, just a little more sophisticated and grown up.
   

BIG BUNNY fits snugly up under your arm and features a comfortable quilted shoulder strap and base, inner pocket and of course big floppy ears. 

Select medium to heavy weight woven fabrics, upholstery fabrics will also work as would suede...project for the future.  This example was made from leftovers, a textured canvas for the outer and two contrasting feed sack fabrics previously used for a POWDER PUFF cushion...never throw anything away!


If you've never quilted fabric or stitched with heavy thread a HOW TO can be found for each here and here.  The BIG BUNNY is worn here with the BATHING SUIT TOP made up in a Japanese seersucker previously featured way back when.  All sewing patterns are available from my Etsy shop.

26.9.16

Upcycling my purse

A new pattern I'm working on called the BIG BUNNY combines what was my Ichigo bag (carefully picked apart) and leftovers from the MINNIE MINI Charlie is wearing with her POCKET TOP.


You can find out HOW TO make an Ichigo bag right here.  
The BIG BUNNY sewing pattern will be available from my Etsy store  in a couple of weeks.  It stands around 35cm from base to top, 30cm wide when seated and fits snugly up under your arm.


For step by step instructions showing HOW TO sew with top stitch thread and HOW TO quilt fabric using batting follow the links.  

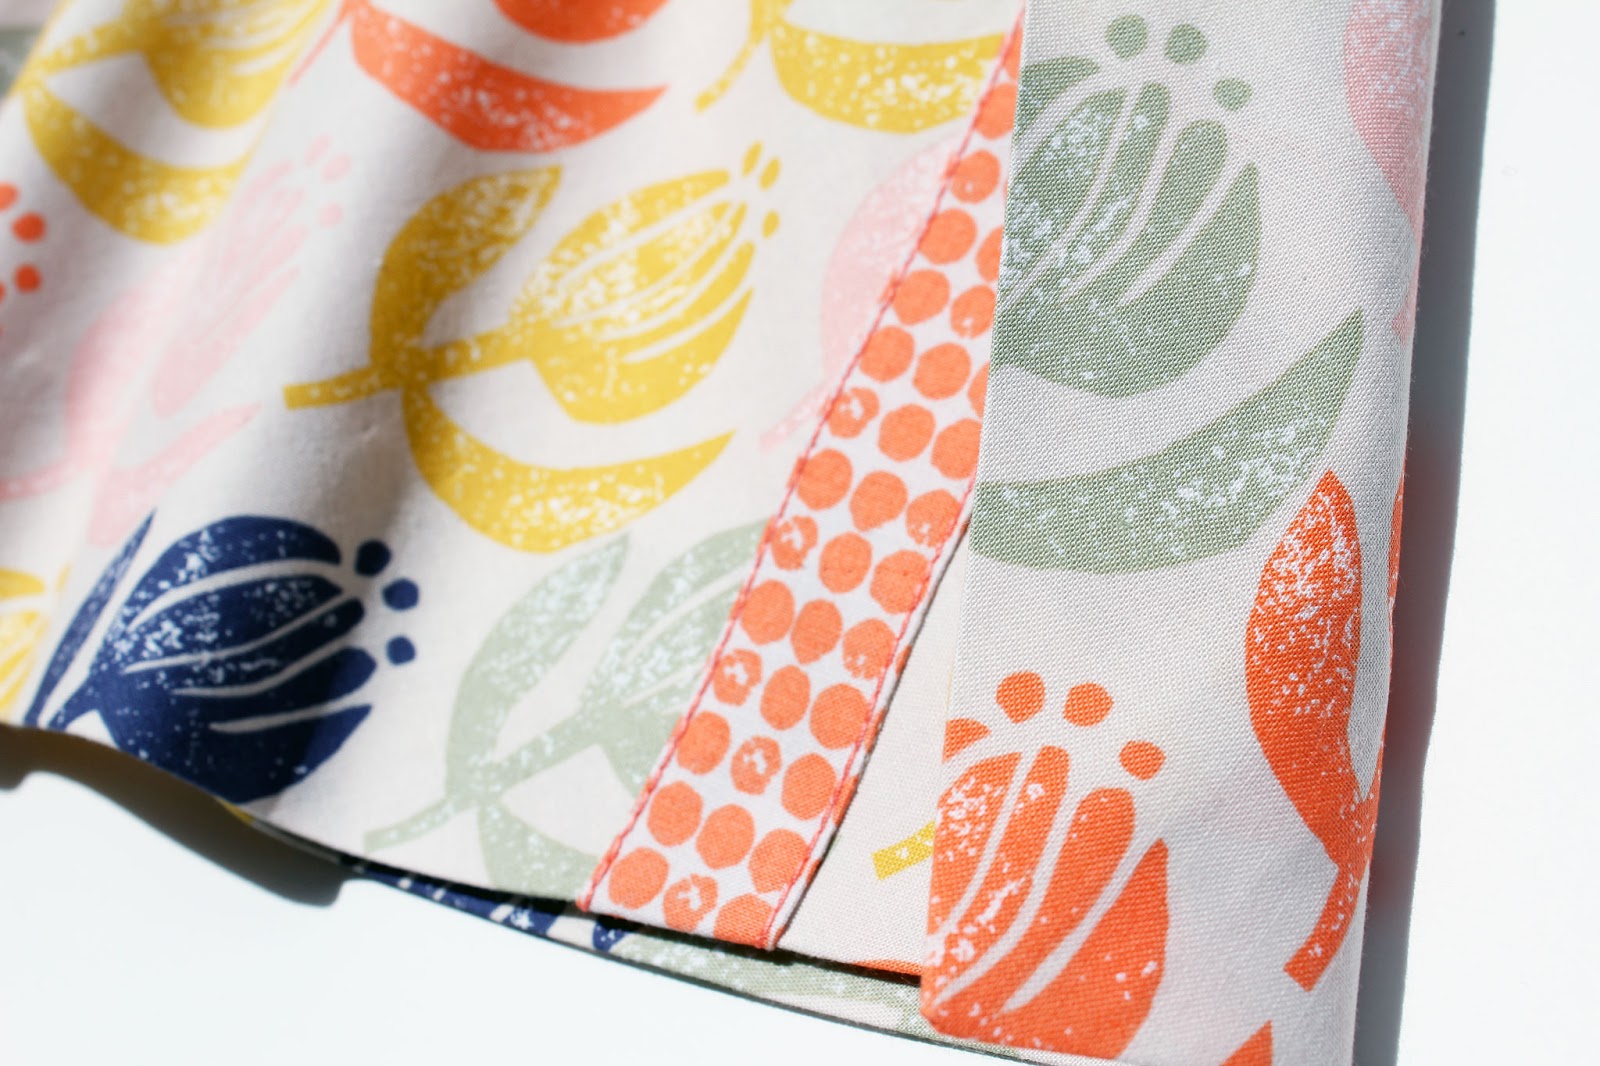
The sunny yellow outer is a design from Alexander Henry called Rolling Hills and it's combined with two fabrics from Umbrella Prints, Rock Dots for the inner strap and Stone Flowers on the side panels.  The contrast top stitch  thread is Gutermann #722.

  
A quilted PARTY DRESS is also in the works, super short, sassy and yes I did say quilted.

27.8.14

new pattern POCKET TOP

The sweet and girly POCKET TOP.


The pattern for the POCKET TOP is now available from my Etsy shop and can be made with or without shoulder straps, buttons or pockets. The shape is loose and relaxed, perfect for a long hot summer. 


The POCKET TOP is shown above with a pair of FLAPPER SHORTS and below with the MINNIE MINI and an ICHIGO BAG.  The fabric for the top and shorts came from Tessuti, the vintage bobble buttons were found at L'uccello and the fabric for the MINNIE MINI is by Umbrella Prints  Details for the ICHIGO BAG can be found right here.


30.7.13

Liberty challenge wks 1 - 4.

 I have a small (by small I mean large) collection (by collection I mean stockpile) of Liberty print fabrics.   Neatly folded they sit sorted by colour inside a beautiful printed bag.  I take them out every now and again, feel how soft they are, make plans and then put them all back again...?

I can not buy any more fabric until they are all GONE!


Included is the beautiful Betsy in the TWO colours shown above...adorable right!  Astonishingly, I'm fairly sure I overheard myself complaining about having nothing to wear only recently.  I started with the soft blue on the right...
 
Week 1.
I always like to test out my patterns many times before release so a Betsy version of the PRETTY BLOUSE was my first project and this one includes the optional frill.  I refrain from showing a full shot, it looks kind of ugly on the hanger...pattern coming soon!


Week 2.
TIE SIDE knickers; the ribbons came from L'uccello and the vintage knicker elastic was found in an Etsy shop called The Bling Bazaar.


Week 3.
Next a BUNNY BAG lined with Betsy for a friend's birthday. I did buy the linen but only after an extensive search through the boxes under my bed.

 
Week 4.
Melbourne is in the grip of a cold snap, my workroom is so icy cold I can see my breath.  I solider on and make a version of the DRESS-ME-UP COLLAR modifying the back and adding some vintage buttons I found at L'uccello (already in my stash). 


I do feel lighter somehow and by lighter I mean less greedy & wasteful, with only a tiny pile of scraps remaining I resolve to keep going.  August is only days away, the challenge continues...

25.6.13

Postman's Sack

 This is the very first work bag I ever bought, I'd searched everywhere and I can remember it cost me an entire weeks salary.  Made in a deep green pebble leather it was the perfect size and shape, sort of like an old school postman's sack.  I loved it to the brink of death.  

  
 One day I'll have it restored but in the meantime I thought I'd have a go at making myself a new one in fabric.  One incredibly complicated pattern making session ensued, bag patterns are not easy!


The printed canvas came from Tessuti and some Liberty print leftovers were used for the lining.  My local bag/shoe repair shop (totally brilliant) added the eyelets and I top-stitched with a heavy thread to add definition.